Leads Table & Calendar Management
Your AI Agent auto-captures every lead. Now learn how to view, manage, and follow up with all your contacts using the Leads Table (CRM), Leads Box pipeline, and Calendar — all in FEAI.
The 3 Lead Management Tools
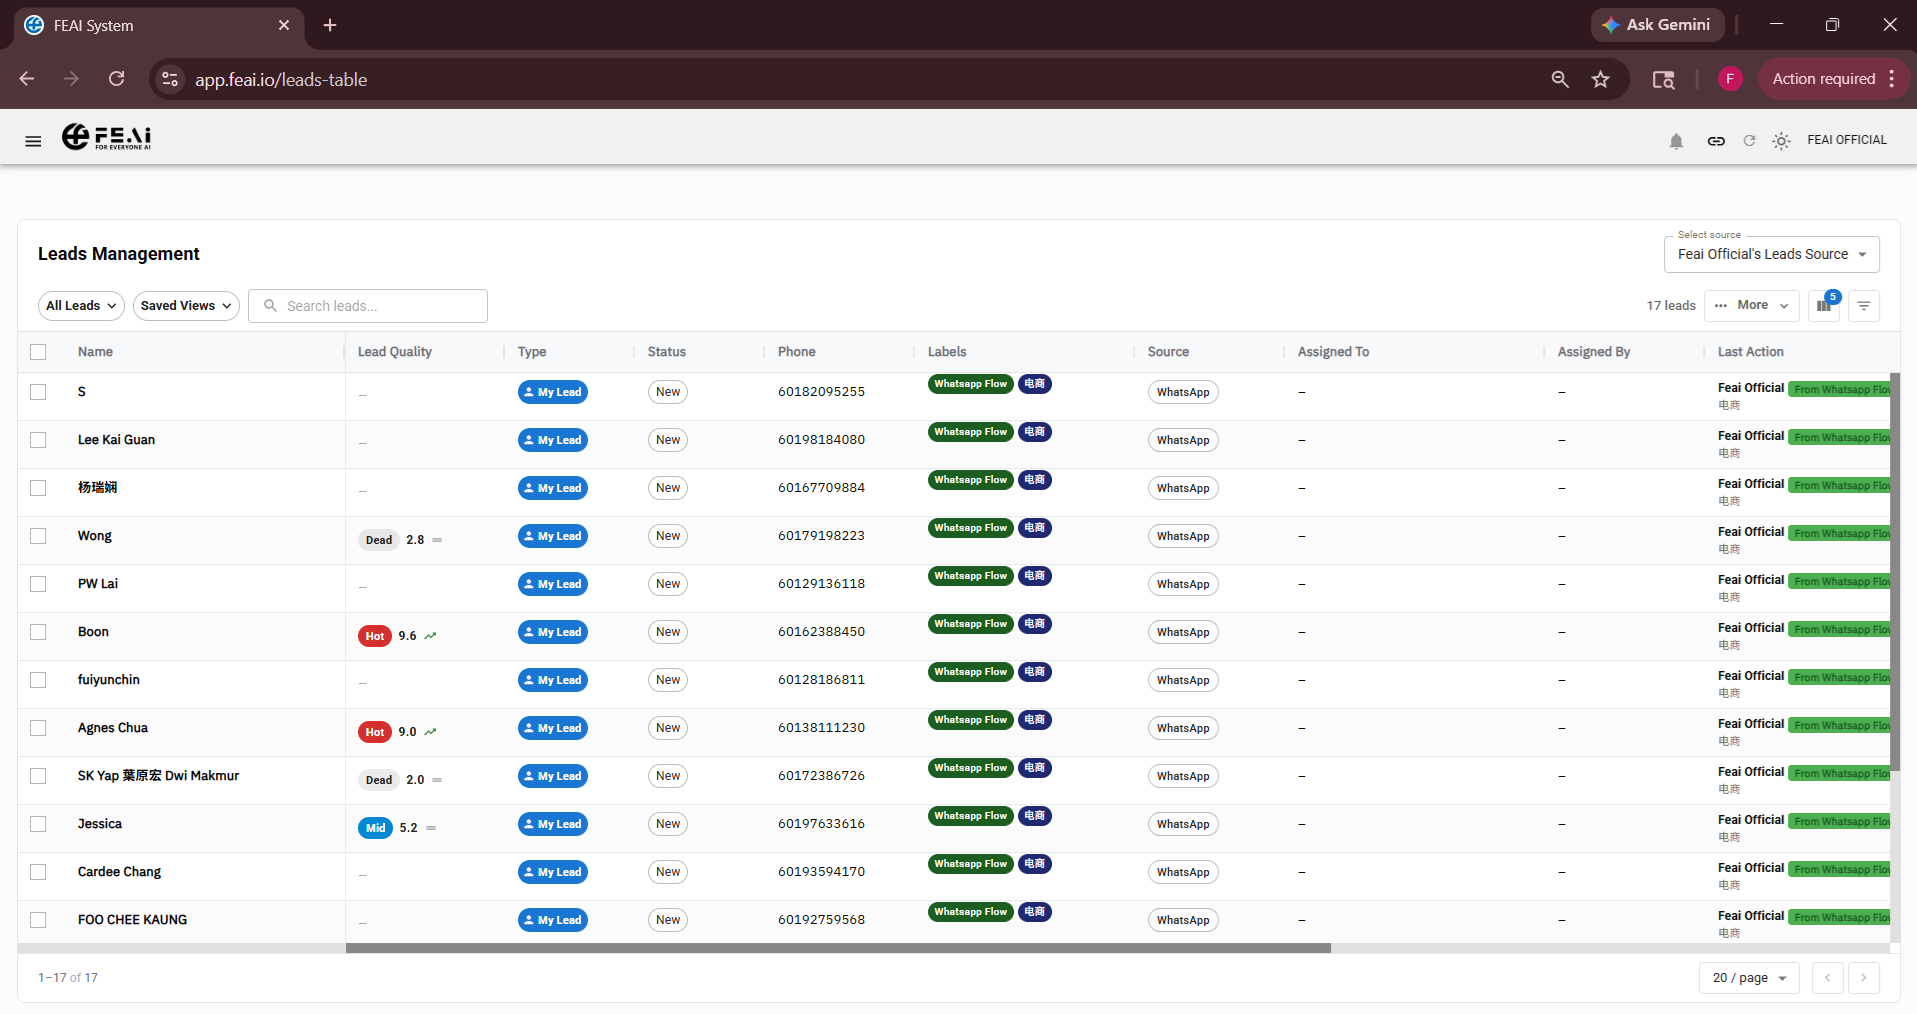
Leads Table
Your master contact list — a full spreadsheet-style view of every lead captured by FEAI. Search, filter, and manage all contacts in one place.
- See name, phone, source, label, and assigned agent
- Filter by label, date, or assigned member
- Click any lead to view their full conversation history
- Manually add or import contacts
- Export your leads to CSV for reporting
Leads Box (Pipeline)
A visual kanban board view of your leads organized by stage. Drag and drop contacts as they progress through your sales pipeline.
- Visualize your pipeline at a glance
- Organize by stage: New → Interested → Appointment → Converted
- Drag a lead card to move them to the next stage
- Ideal for sales teams managing multiple leads simultaneously
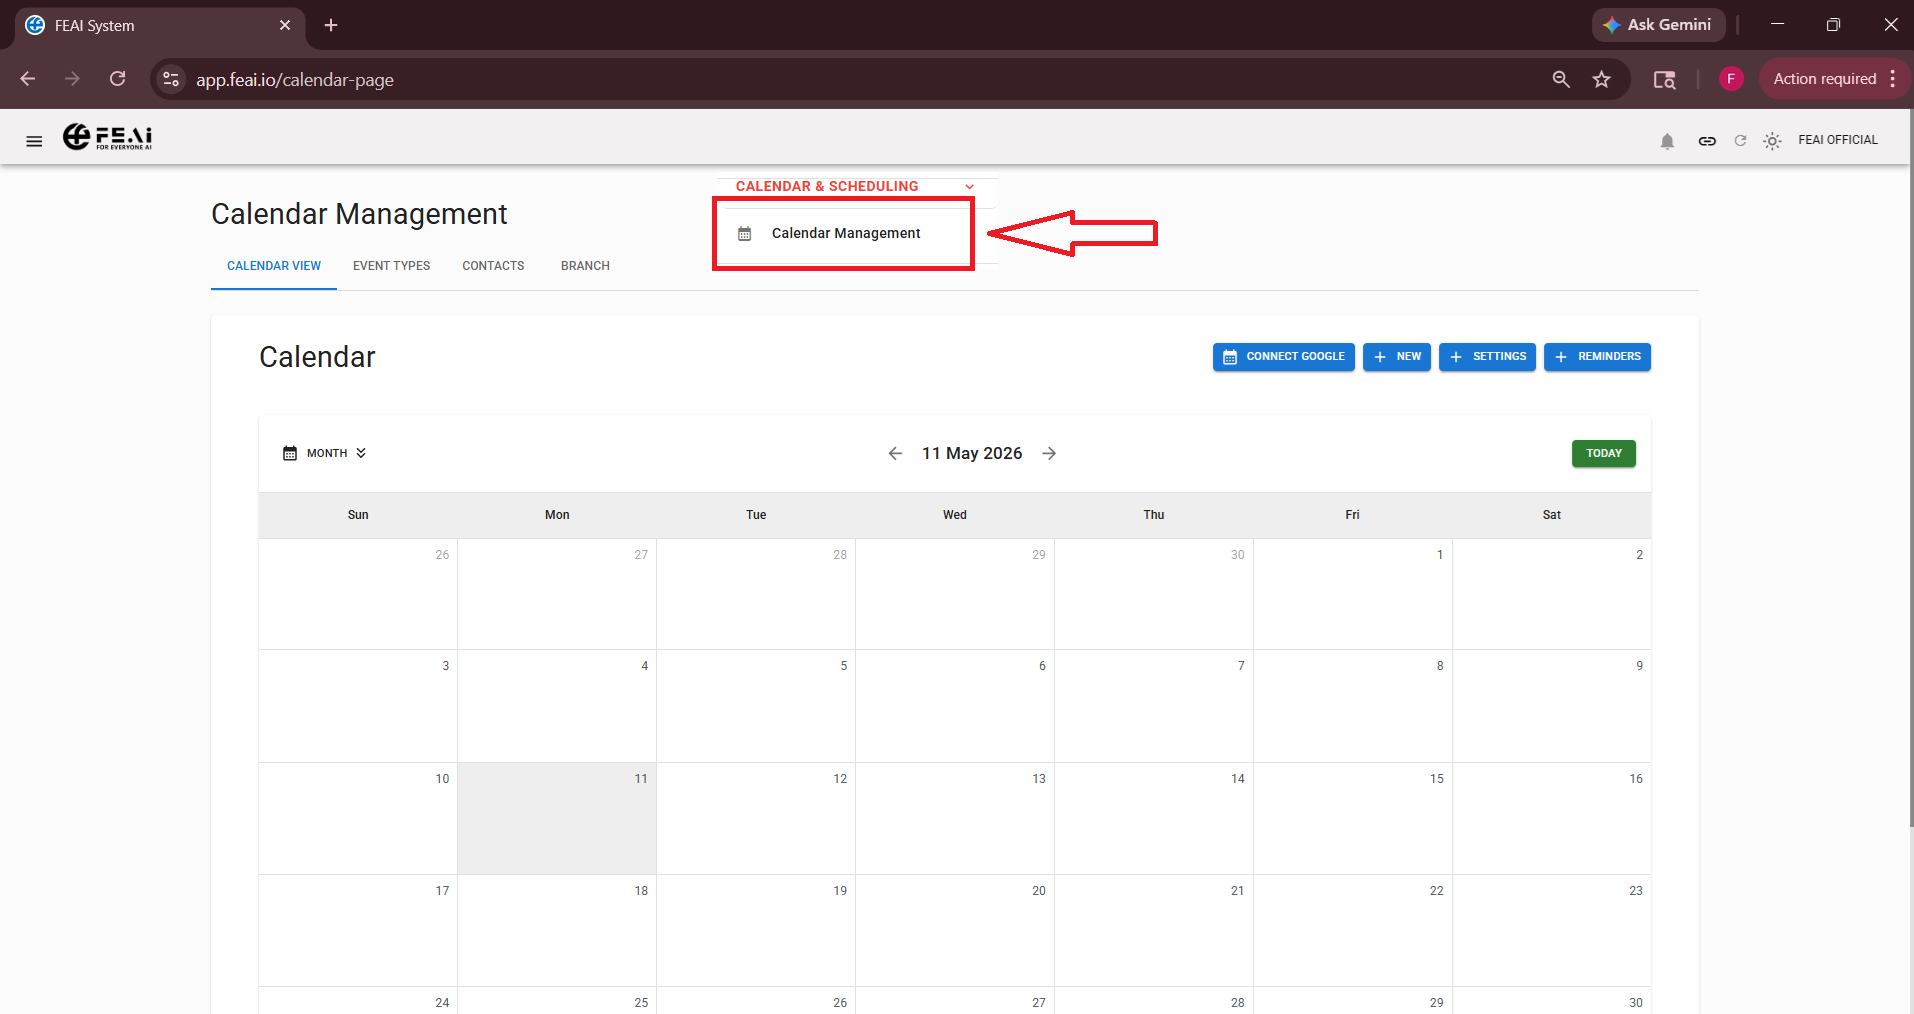
Calendar Management
View and manage all appointments that have been scheduled through your AI Agent or manually entered by your team. Never miss a follow-up or meeting again.
- See all appointments in a calendar view (day, week, month)
- Appointments auto-populate when set through your AI flow
- Add manual appointments directly in the calendar
- Set reminders for upcoming appointments
- Click any appointment to see the customer's lead profile and conversation
Lead Labels — How to Categorize Your Contacts
Labels help you segment your contacts so you can target the right people with the right broadcast messages. Here are recommended labels for most businesses:
💡 Tip: Create your own labels based on your business needs. Labels set by your AI Agent flow (via Label Node) appear here automatically.
How to Use Leads Table — Step by Step
Navigate to Leads Table
From the left sidebar, scroll down to Leads Management → Leads Table. All contacts who have messaged your connected channels will appear here automatically — captured by your AI Agent.
View and manage a contact
Click on any lead row to open their full profile. You will see:
- Their name, phone number, and channel (WhatsApp / Messenger / Instagram)
- Their full conversation history with your AI Agent
- Any data collected by Question Nodes (e.g. email, budget, preferences)
- Their assigned label and team member
Assign labels and team members
Manually update a lead's label if needed (e.g. move from "New Lead" to "Hot Lead" after a phone call). Assign the lead to a specific team member who will be responsible for following up. This keeps your whole team organized and accountable.
Check your Calendar for appointments
Go to Calendar Management to see all scheduled appointments. If your AI Agent flow includes an appointment-booking step (via Question Node), those bookings will appear here automatically. You can also add appointments manually for walk-in or phone enquiries.
Congratulations! You've completed all 5 steps.
You now know how to set up your full FEAI system — from AI Agent creation to lead management. Your business is ready to handle customer enquiries automatically, blast targeted campaigns, and track every lead in one place.